AROUND MY NECK hangs an amulet - a magic thing wrought by me in metal and stone!
I've always had a love of ancient talismanic jewellery made from the less precious metals, and often marvelled at the wonders of adornment made by peoples the world over in a book I was given as a youngster by my parents one birthday:
The Splendour of Ethnic Jewellery. But I've never had the chance to actually create something in the medium of metal, so this birthday just gone, my
Tom arranged as a gift for me to spend a day in the studio with my dear friend Miriam Boy of
Silver & Moor, a local silversmith who as well as working on her own beautiful creations for neck and wrist and finger, offers a wonderful
Make Your Own Wedding Ring workshop down here in Devon, where couples can book to spend the day under Miriam's expert tutelage and make their own (or each other's) rings for their day of betrothal. Occasionally people ask to make things other than rings with her, as did I. True to my particular creative nature, I spent a long time before the day designing my piece, which was to be an amulet to mark and symbolise certain things very personal to me. I pored over books of symbols and arcana, and learned about the amuletic power in arts and objects, returning often to a favourite book of mine:
Amulets: A World of Secret Powers, Charms & Magic by Sheila Paine, which is illustrated lavishly with photographs throughout. Eventually, I had a design I was happy with and arrived on the pre-arranged morning at Miriam's cozy studio over a shop on the village square.


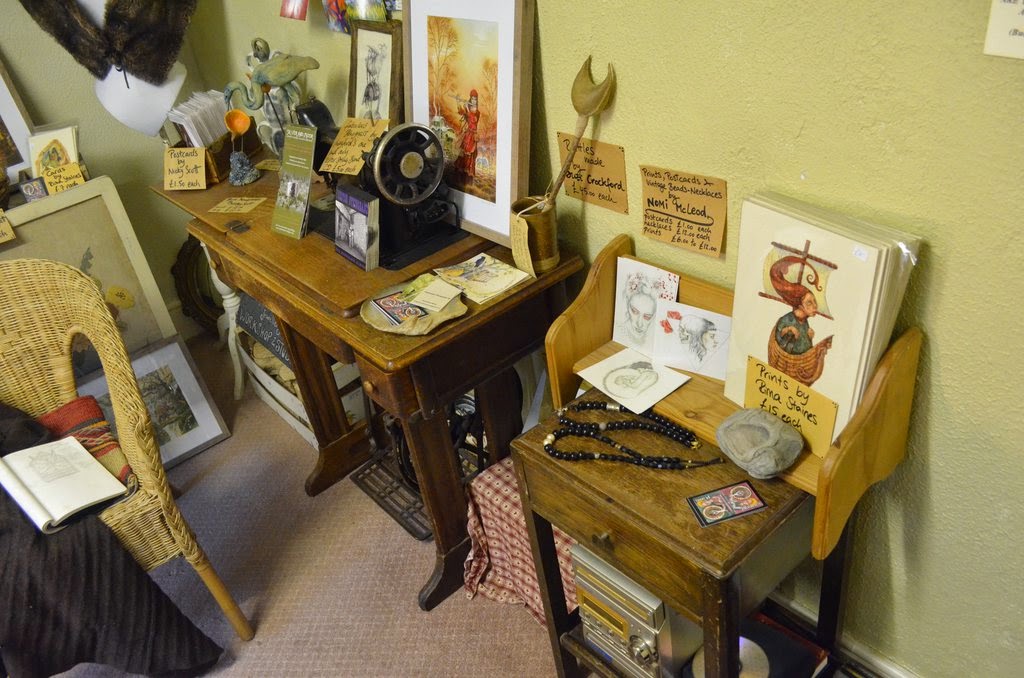
Miriam has many wonderful works by other local artists on display in her space too, some of which you may recognise!
Through the door is the studio of neighbouring artist of stitch - Angharad Barlow of
Atelier Bee (who came in during my creating process at opportune moments to take lovely photos!)
Miriam's completed pieces are on display in a glass cabinet, though they don't stay there too long, as her jewellery is snapped up almost faster than she can make it!
When I first showed Miriam my design, she did this with her hands, and told me this ambitious creation would take me a lot longer than a day!
But together we mulled over the options and techniques, and talked about the metals and stones I wanted to use, finding ways round complications and feeling like we were setting out on an adventure!
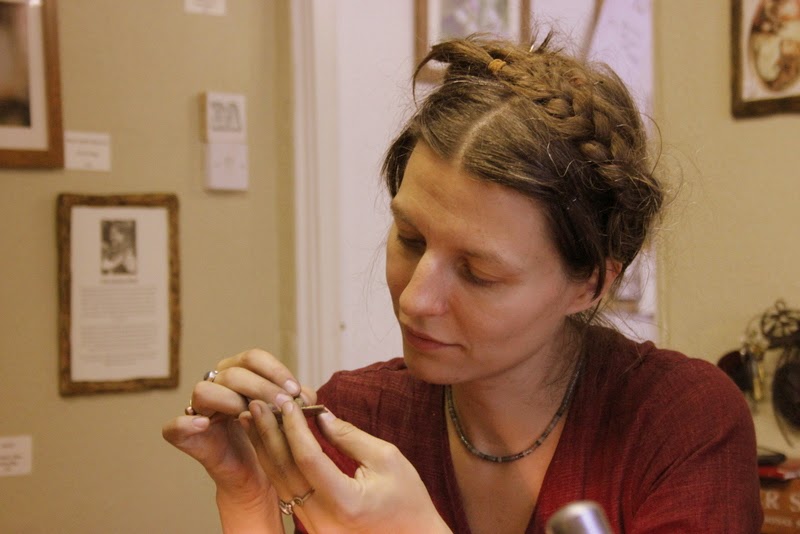
I began by cutting out the shapes of metal I wanted in my design. I used a variety of metals - here I'm sawing the tiny hand motif from sheet bronze with a saw blade so fine that I broke it about 8 times!
I laid out the elements I had so far, building the whole picture. Here you can see the backing of brass, a smaller silver section on top, with the bronze hand and the two stones I had brought to set in my amulet - one, a piece of seaglass, washed into a perfect sphere by the sea, and found by me as a girl, and the other a piece of Dartmoor granite.
Some of the metal could be cut with shears.
Then came the first soldering process - a magic of fire and flux and luck! Here Miriam is making a flux paste by grinding the cone of borax in a little water.
I cut tiny pieces of silver solder, of the hardest grade (there were four grades of solder; we had to make sure that once a piece was soldered it didn't melt again in the heat of another soldering, hence the varying grades of heat required to melt the silver.)
And painted flux over the sanded clean surfaces to be joined.
Then the tiny pieces of solder are laid on
And heat is applied from below
The solder eventually melts and then the whole hot piece is plunged into water for annealing and we discover whether or not it has melded.
More pieces of metal are soldered on - this time, small diamonds of copper
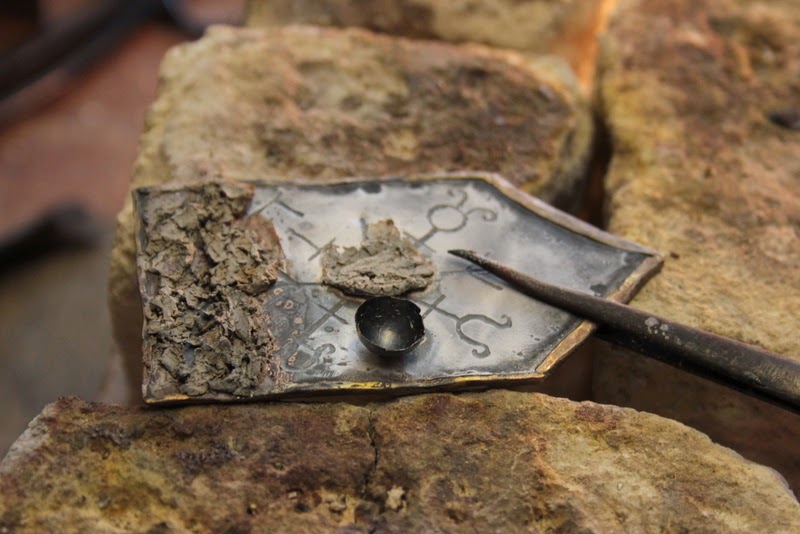
I love how the piece gradually acquires a patina from heating and cooling, from caramelizing flux enamel, and the mere rigours of the process. Next I make the border by cutting and hammering the brass backing over.
This is quite fiddly
And that ends one whole day of work! I leave the evening studio excited for the next days of creating, and invigorated by learning this entirely new craft! Miriam generously let me return to her studio until I had finished the piece, and guided me when I was stuck whilst working on several of her own pieces in the time it took me to make one.
Day two began with making a minute copper dish in which to set the glass sphere. The dish was Miriam's idea - in order to show off the glass's unique spherical shape. This too was very fiddly, and I had to curve the copper by hammering it with domed hammer tools into a concave.
Then for more soldering. This time the hand.
And the attaching of a thin brass strip for part of the border which we thought would be a simple task but in fact proved to be very infuriating indeed, and took many many attempts to get the small piece of brass to attach to the silver.
The more times we heated it under the flame, the more patinas and colours emerged across the metal's surface.
Eventually it stuck!
Then (by now, day three!) it was time to solder on the wee copper dish, but before that I had to do some engraving using a fine Dremel and a Steady Hand. I didn't manage to get any photos of this due to my hands being otherwise occupied at the time, but we decided it was best to engrave before soldering on any obstacles.
The amulet was slowly taking shape...
Next I made a copper bezel for the little piece of granite and soldered that in place too.
And then it was the fourth day! I made the face from copper wire which I hammered flat and bent with pliers. Another great fiddle! The tiny copper balls at the top were made from small scraps of copper heated under the blowtorch until the surface tension in the melting metal causes them to ping into a sphere! It's quite magic to watch.
These tiny pieces all had to be soldered on in one go without them moving about or attaching in the wrong position.
It was really important to apply heat resistant paste to the parts already done so as not to unsolder them!
More ferocious flames and delicate placing of pieces...
And the hiss and steam of hot metal plunged into water
By now the alchemy was really happening. I was totally absorbed in the process, focussed and determined to keep working though it was hard, hot work, and I had sanded my fingerprints right off!
Day four was stretching into evening and Miriam and I were determined to finish the piece that day, no matter how late we stayed at the studio! We had talked through many subjects and stories and had both learnt a lot about each other and about jewellery making! Now I made a hammered brass attachment for the hanging...
And we spent some more time crouched over hot blow torches (this stage required three torches, and in the middle of it all we ran out of gas, so our multi-talented photographer Angharad had to run out to the shop to buy more!)
It took many attempts to get this piece to attach, as we couldn't risk heating the piece from below where all the precious work was held.
Each time we plunged it into the water, we held our breaths to see if the solder had taken.
Sometimes we tried heating the solder before placing the hanging piece on. So many beautiful colours in the flames.
And finally, finally it took!
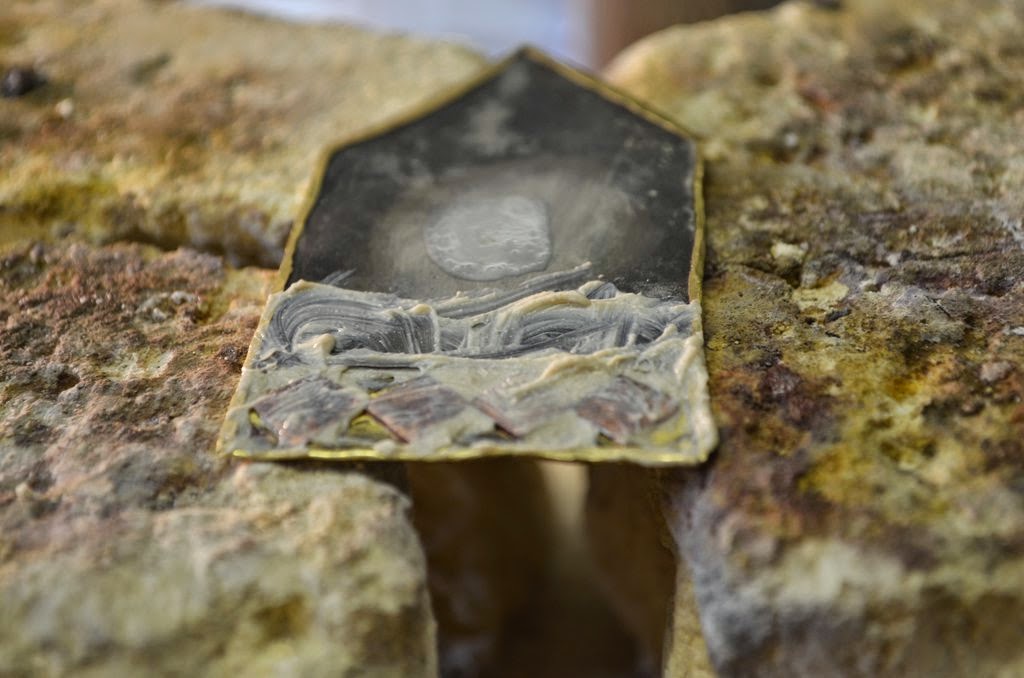
I thought the back looked almost as beautiful as the front! You can see the small doorway-shaped hole I drilled through the hand at an earlier stage as part of the design.
Now all that remained was to sand and polish some (a lot!) more, and then set the stones, which was for very last.
Though I love a battered and worn patina on things, patient sanding and polishing brought out a wonderful shine and made my eyes sparkle with that innate gem-glee that even us muted-colour-wearing lovers-of-the-old-and-weathered cannot suppress when it takes hold!
Dark had descended outside the studio windows, but inside, magic was happening.
I polished
And the amulet shone
Last of all came the stone setting. A delicate art of pushing and coaxing the thin copper housings round the uneven granite and the sea-smooth glass ball.
And then it was done. An amulet of power. A piece of jewellery unlike any other I own, both because of what it is and because I know what went into it. I look at other pieces of jewellery now with a new-found awe! These four days spent with Miriam and the files and hammers and solder and tongs and blowtorches and silver and brass and copper and bronze will stay with me always - an utterly unforgettable experience of forging my own piece of magic with flame and hand. I am so grateful to Miriam for sharing with me her time and space and tools and patience and skill so that I could bring this unique creation to life (and also for making me a lovely copper clasp to join the leather thong on which the amulet hangs).


The amulet hangs round my neck with a never-before-experienced weight that is due to its inherent potency rather than the actual grams of metal. I find my hands and eyes drawn to it constantly. It contains so much more than the sum of its parts, and I love that it might be dug up one day in the peat of Dartmoor, by peoples unimaginable to us here now; perhaps there are trees on the moor again by then, perhaps the people here in that time have found a way to live with the land rather than in spite of it, and perhaps they will wonder at the woman of the past century who made and wore this silvered spell set with signs and stones of land and sea.



















31 comments:
What a wonderful gift to be given! The amulet is beautiful, absolutely so. I love the idea too of being able to make your own wedding ring. How lucky you are to live in a place so rich with creative folk and such magical opportunities.
so many gifts here, the making, the studio experience, the thoughtfulness, the alchemy shared. working with another artist, learning a bit of their ways and craft, conversation, earth air fire water...is gift incredible, indeed.
What an astounding work of art and process. It is very interesting to see what goes into such intricate pieces. I'd love to know the symbology behind the piece if it doesn't take away from it's magic :)
well done!
ooooh, that is lovely. i made some jewelery at uni, long ago now, and i should love to revisit that craft! you have reminded me, as well as delighting me by sharing your beautiful artifact/amulet/jewel.
What a marvelous amulet you have crafted dear Rima~Another shimmering inspirational creation! Beautiful, timeless and magical, like your paintings and puppets and creative heart.
Well, I never! Oh, but I wish I had. I wish I could. I hope I will. I photographed a lovely piece crafted long, long ago, and marveled at the craftsmanship, the image that someone brought into being. I wondered how. You just showed me.
Thank you. It's beautiful.
Hi Rima.. bravo to you and your friend for working for 4 days to craft that wondrous work of art! I also crafted in metal and bone a pendant that I love.. so I can totally relate to your working on this.
Good job.. it's wonderful! ((hugs)), Teresa :-)
Rima - I found my blog post where I made my scrimshaw pendant with gold parts that I created using the lost wax method.. it took me weeks of jewelry class. You'll have to scroll down my bead collection to see it, but I do hope you will go look. It would mean a lot to me for you to see it as I admire your artistry so much.
http://teresakasner.blogspot.com/2014/06/the-bead-goes-on.html
((hugs)), Teresa :-)
I was totally captivated following the creative and patient process that led to your enchanting amulet! Absolutely intruiging, thank you for sharing this! xxxx
Wonderful.
How very beautiful Rima -thank you so much for sharing the process of making your amulet - and your own comment about its future discovery - a treasure indeed !
A wonderful four days for you and a stunning result at the end. Your amulet is beautiful and obviously full of personal meaning. Your friends work space is very inspiring and you must be a most able student to have achieved such an excellent result.
What joy watching your process....and what a potent piece...and how very beautiful you are in all those photographs!
very enriching blog Rima! the photographs are simply brilliant..the process of making this unique jewellery.. everything is gloriously beautiful and artistic .. you eat and breath art and that is what I love about you and everything you to; this wonderful honesty and creative abundance...
beautiful.... x
I love the care you all put into giving this amulet making pictures and words so we can all share in the magic too! Thank you.
Your amulet is like a sampler of jewellery making techniques! What a lot of skills you had to use to create your beautiful piece. Thank you for posting the who story in photos. Just think how many hours work went into making Saxon jewellery and gold and gem work!! X
What a fascinating post! So many photos, each step of they was a delight and your amulet looks amazing!
Thank you :)
Hello dear Rima!
That is sooo great that you show such stories, and metalworking seems an indeed fruitful field for your amazing designs )
This is Daria who wrote you once, you are most welcome to visit my blog )
http://silverjunipersunlight.blogspot.com/
Love the design of your Amulet, I have a greater appreciation for the handcraft,
a LOT of work .... but a beautiful piece !!!
You have inspired me to start making jewellery again. Thank you both
Uniquely beautiful...as are you.
I wonder at this woman now. Always an inspiration.
oh the mystery in your personal hieroglyphs, such physical and spiritual alchemy!
Truly stunning beyond words!
Rima. How stunningly beautiful and what a wonderfully recorded journey from conception to reality.
Congratulations Beautiful Lady.
Love to you and Tom.
Keith
Spellbinding girl..thankyou for sharing the process of this most precious and beautiful gift. Blessings to it and to you both..
This is a beautiful work and beautiful words. I really liked the process described, and the spell that goes into the work. But most impressing was the gesture that Miriam did when you first introduced your project to her. Not because of its semantics, but it just feels as if it belongs to that amulet, if I am making any sense.
I missed this one until today! You did great on this! That's a lot of fiddly & tricky work, and I am impressed!
All the best-
Aidan
Post a Comment